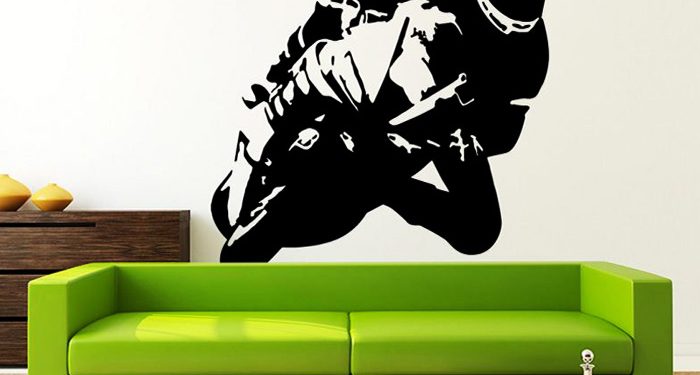
Applying the wall sticker or wall tattooing: Before applying the wall sticker, it is advisable to read the installation instructions, becouse an incorrect installation may damage the wall or the sticker.
On which wall can the wall sticker be affixed or on which it should not be?
- In the case of a freshly painted wall, wait at least one and a half to two weeks before application, on a wet wall surface the sticker will not adhere properly
- The sticker does not adhere properly to a dusty, calcareous, squashy or damp, loose wall
- The sticker sticks to a smooth, indoor wall surface, but not to a rough surface.
- For uneven, wavy surfaces, it is advisable to heat the sample with a hair dryer after application, so that the sample touches the surface.
- On an improperly prepared wall surface, the applicator foil (transparent) may adhere to it, remove it, or the sample may not adhere. Therefore, it is advisable to clean the wall of dust and grease before gluing.
- For a freshly painted wall, wait until the wall is completely dry, then wipe it with a cloth.
- All surfaces must be cleaned of dust and other contaminants to ensure that the sticker adheres properly.
- If you need to remove an old wall sticker or wall tattoo from the surface first, you may want to heat it with a hair dryer to dissolve the glue somewhat. The easiest way to remove the glue left on the surface is with a sticker eraser available in stores.
- Care should be taken to ensure that the room temperature does not change significantly for 1-2 days after gluing.
- After waiting for the right time, the sticker can be cleaned with a damp cloth.
- To put on larger stickers, you may have to ask a friend or family member for help.
The wall tattoos are patterns cut from a single-colored, material-colored foil, which was provided with an applicator foil. The applicator film facilitates application because it is a transparent or translucent film.
Accessories required for installation:
– Clean cloth
– Pencil, tape measure, eraser, spirit level, masking tape
– Plastic card (eg ID card or any other material that can be used to smooth the received sticker before or after application.)
Parts of the sticker received:
– Lowest backing paper, required for production and shipping.
– The middle is the sticker itself, the decoration
– The top layer is the application film, for easier application.
Steps to apply the sticker
1. CLEANING
– Before application, ALL surfaces must be thoroughly cleaned from dust and greasy dirt with a dry cloth.
2. TEST
– Try to decorate the surface that hasn’t been disassembled yet. You can use a spirit level, tape, pencil, which you can easily erase after application.
3. PREPARATION
– Spread the sticker on a flat surface / table with the applicator film facing upwards.
– Smooth the surface of the decoration with a card or a piece of clothing so that the sticker is beautiful and even.
4.A For smaller stickers: REVERSE!
– Carefully remove the media, that is, the layer of paper. Make sure that the smaller parts remain on the transparent applicator film. If small parts remain on the paper, release the paper, smooth the surface firmly, and then continue removing it.
– When peeling off the applicator film, if smaller pieces or parts remain on the paper, release the paper and press the rising part in that area, and then continue removing the paper in the same way.
– Carefully place the sticker on the desired surface
4.B For large stickers (think about to call for help):
– Place all three layers on the wall with the paper layer on the bottom.
– Use a masking tape to cut the sticker in half on the narrowest part.
– Start by peeling one side off the substrate so that the sticker stays on the transparent applicator film.
– When you reach the masking tape, cut off the bottom.
– Then carefully smooth the wall sticker back onto the surface using a card. It’s worth taking the time to do it, but it’s worth it as a properly placed one sticker will really uplift the space.
– When you have finished smoothing, take off the masking tape and you can continue with the top.
5. SMOOTHING
– Using a soft, clean cloth, trim the surface so that it is smooth and free of air bubbles.
6. REMOVE THE (TRANSPARENT) APPLICATION FILM.
It is advisable to peel the foil off the surface very slowly, at the sharpest possible angle. The adhesive layer of the sticker is still fresh on the surface, it does not stick to it properly, it is not worth rushing to it, as we cause more harm than good. If by accident one part has not yet adhered to the wall, roll it back onto the surface, smooth it over firmly, and then carefully try to remove the foil again.
7. FINAL SMOOTHING
-With clean fingers, it is advisable to smooth the parts of the sticker once again, especially on the thicker surfaces for stronger adhesion. Non-completely uneven surfaces should be warmed with a hair dryer and smoothed with your fingers so that the sticker touches the surface more easily and firmly. After 24 hours, the glue is already in full swing, in which case you can clean the sticker with a damp cloth.


